I finally deep cleaned my keyboard and it was totally worth it
How often do you clean your keyboard? If you're like me, probably not enough. I've been using my Lemokey L5 HE for around five months at the time of writing, and it just dawned on me that I've not once given it a proper deep clean. Now, given how much time we spend using keyboards, it's understandable that they pick up dirt and detritus. You know, all the stuff that happens in life—it leaves crumbs. This is why every now and then, it's good to give your keyboard a deep clean. Plus, it really doesn't take long, and like many things in life, it is useful maintenance to keep your hardware working properly for longer. My basic keyboard cleaning kit You might have this already in the house
How often do you clean your keyboard? If you're like me, probably not enough. I've been using my Lemokey L5 HE for around five months at the time of writing, and it just dawned on me that I've not once given it a proper deep clean.
Now, given how much time we spend using keyboards, it's understandable that they pick up dirt and detritus. You know, all the stuff that happens in life—it leaves crumbs.
This is why every now and then, it's good to give your keyboard a deep clean. Plus, it really doesn't take long, and like many things in life, it is useful maintenance to keep your hardware working properly for longer.
My basic keyboard cleaning kit
You might have this already in the house
Giving your keyboard a deep clean doesn't actually require many tools. You're likely to have some bits hanging around your house already, but you may need to order some bits online or head to a local store to pick them up.
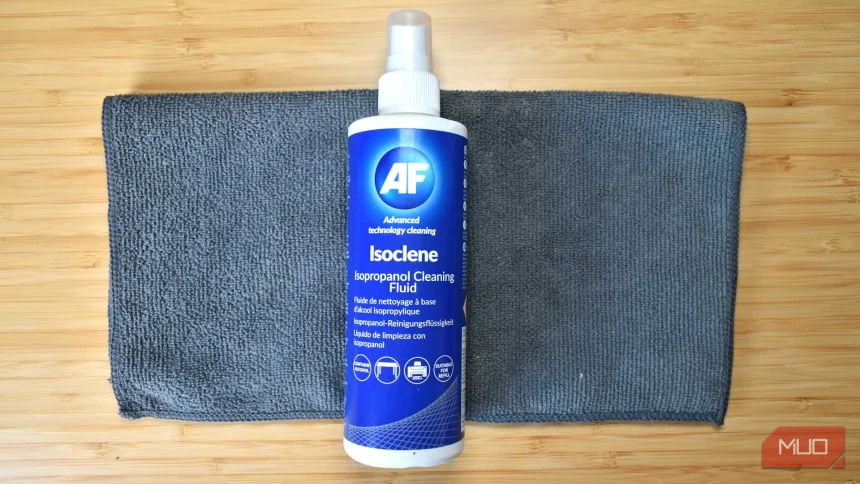
- Soft-bristle paintbrush
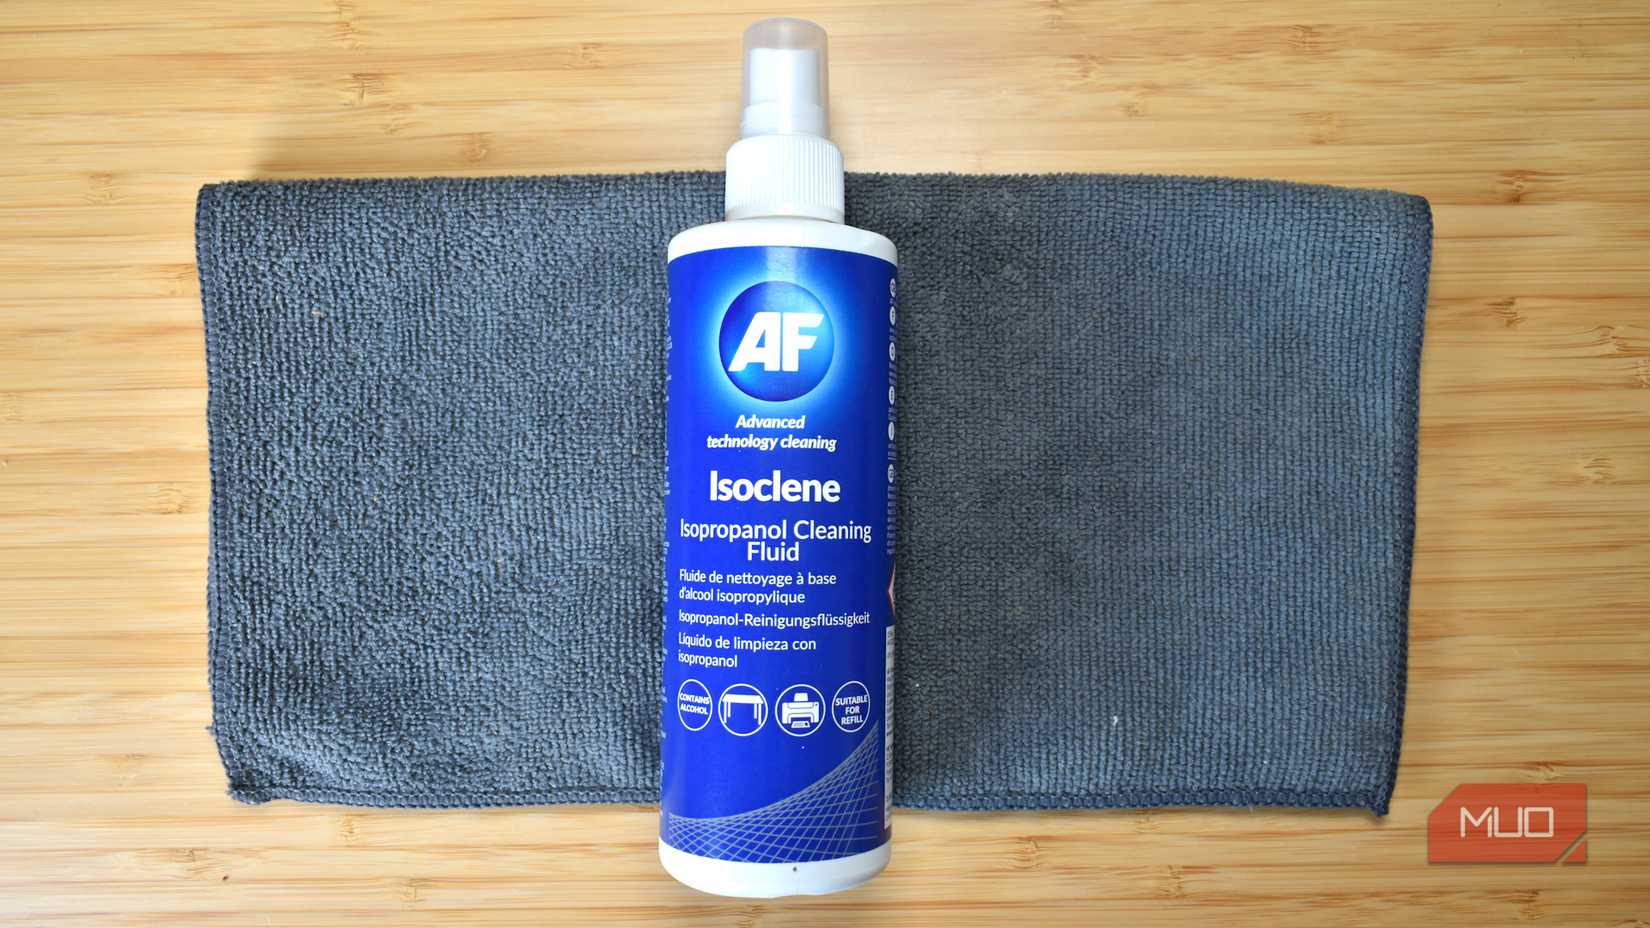
- Isopropanol/isopropyl cleaning fluid
- Microfiber cloth
- Compressed air can/air duster
- Keycap puller
I am cleaning a metal chassis mechanical keyboard. The steps to clean keyboards containing plastic and rubber elements differ. Isopropyl alcohol can damage certain types of rubber membranes. Furthermore, it can discolor some types of plastic. In all cases, research your keyboard type and cleaning techniques before you get started.
Once assembled, you're good to start the cleaning process.
How I clean my mechanical keyboard
It's time to get stuck in
You'll likely want to disconnect your keyboard from your computer before you start cleaning it. I actually use software called Keyboard Chattering Fix to temporarily disable my keyboard; either option is fine depending on your approach.
Remove the keycaps using your keycap puller
The first step is to remove the keycaps from the keyboard. I'm using the one that came with my keyboard, which is somewhat on the flimsy side, but it'll do the job. Keycap Puller Kits are pretty cheap to pick up if you don't already have one.
When I remove the keys, I tend to place them in order near the keyboard. It makes it easier to put them back in the correct order once you've cleaned them.
Grab your paintbrush
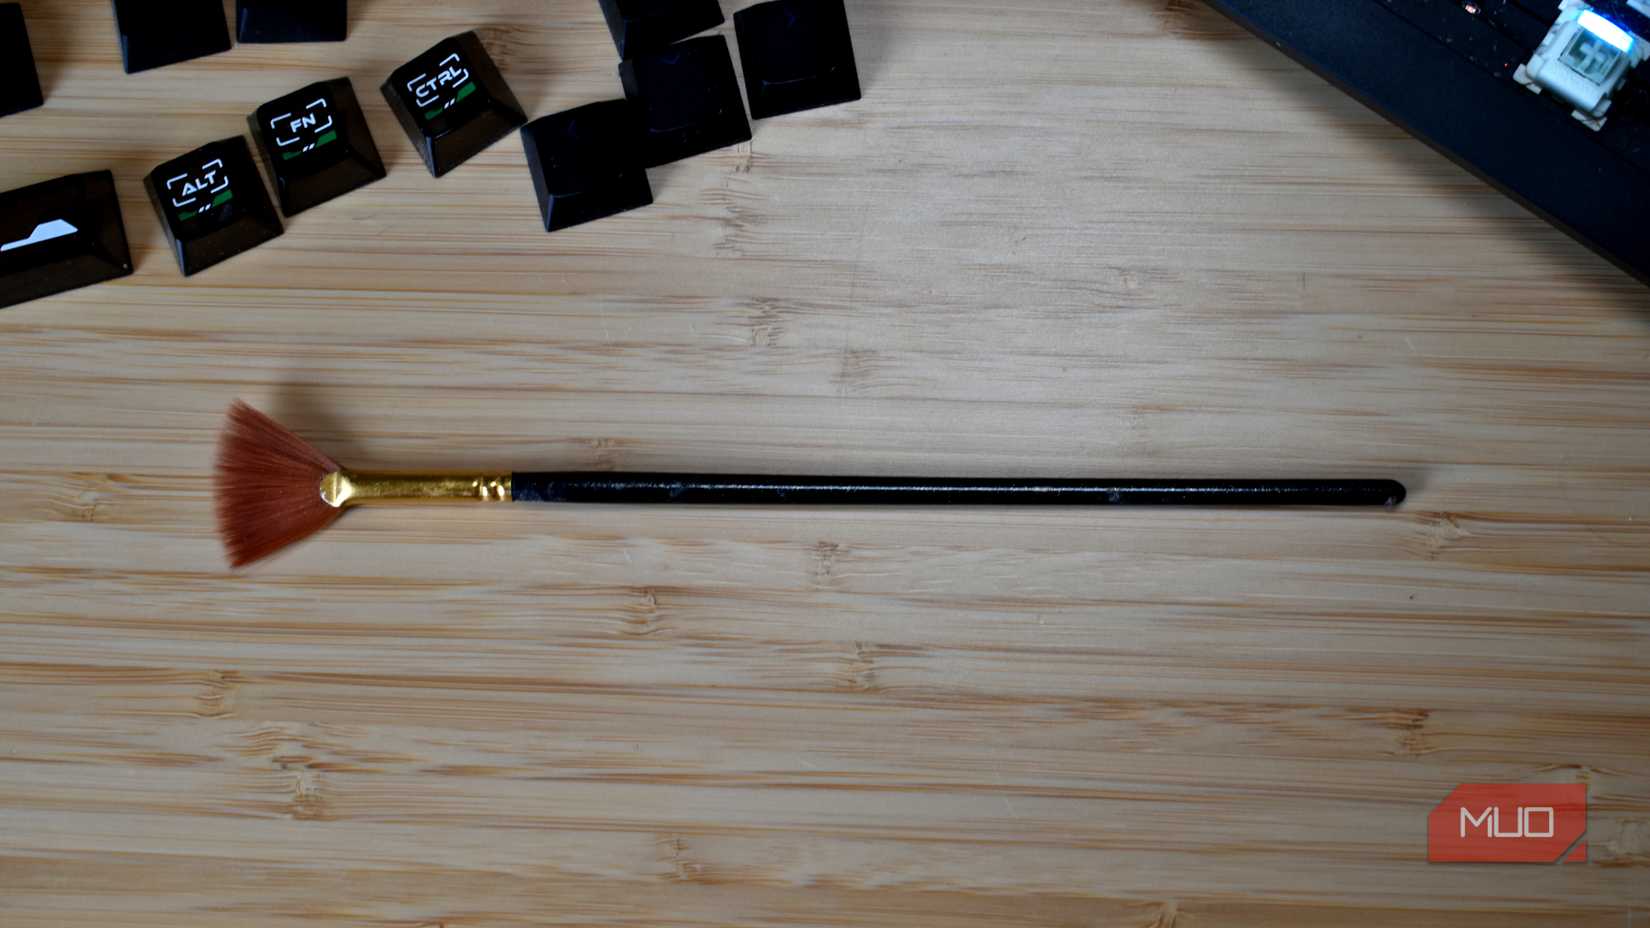
Next, you'll want to grab your paintbrush. A big part of cleaning the keyboard is removing all the dust and other rubbish that falls between the keys, and a soft-bristled paintbrush is perfect for this.
There is no specific method or style you need to know for this, as it's fairly self-evident. Just make sure to be thorough, clean around each keyboard switch, and make sure you're removing dirt from all the corners.
I'd also advise you to move the keyboard around and check from different angles to make sure you're really cleaning everything out properly.
Use the air duster to remove any other dust and dirt
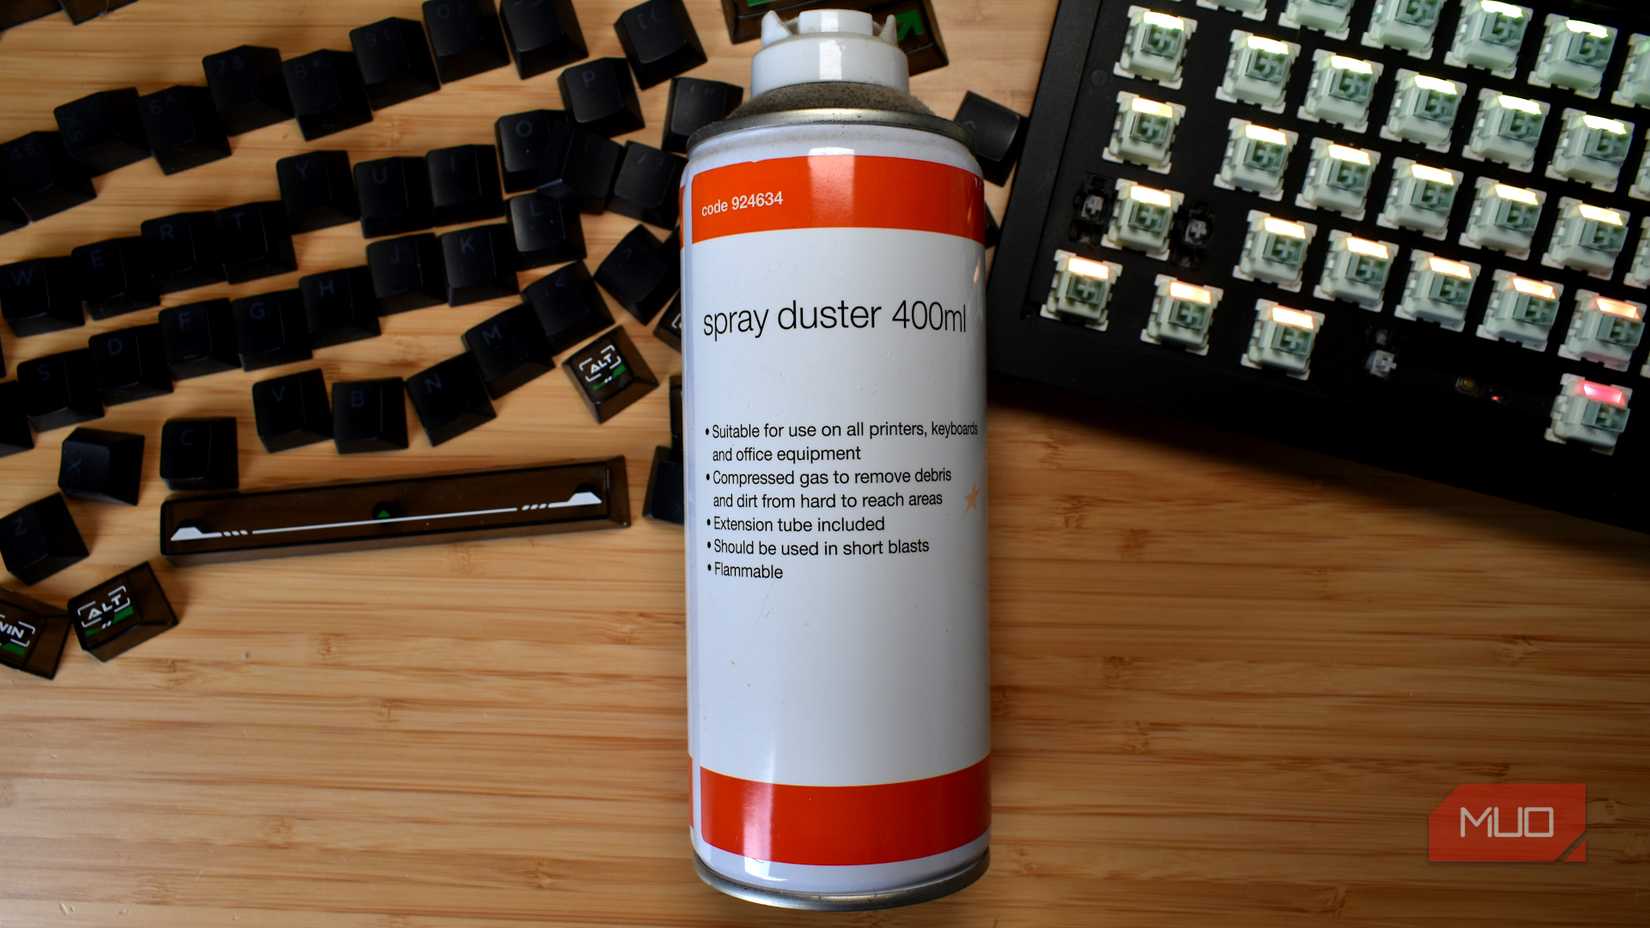
Once I'm done with the paintbrush, it's time for the air duster. This is useful to clean out any extra bits I've missed, and also helps to get any extra dust around the keyboard switches.
On that, I haven't removed the switches from the keyboard, despite them being removable. They sit snug to the frame, and realistically, there isn't a great deal of dirt that will work its way underneath.
Give the keycaps a good clean
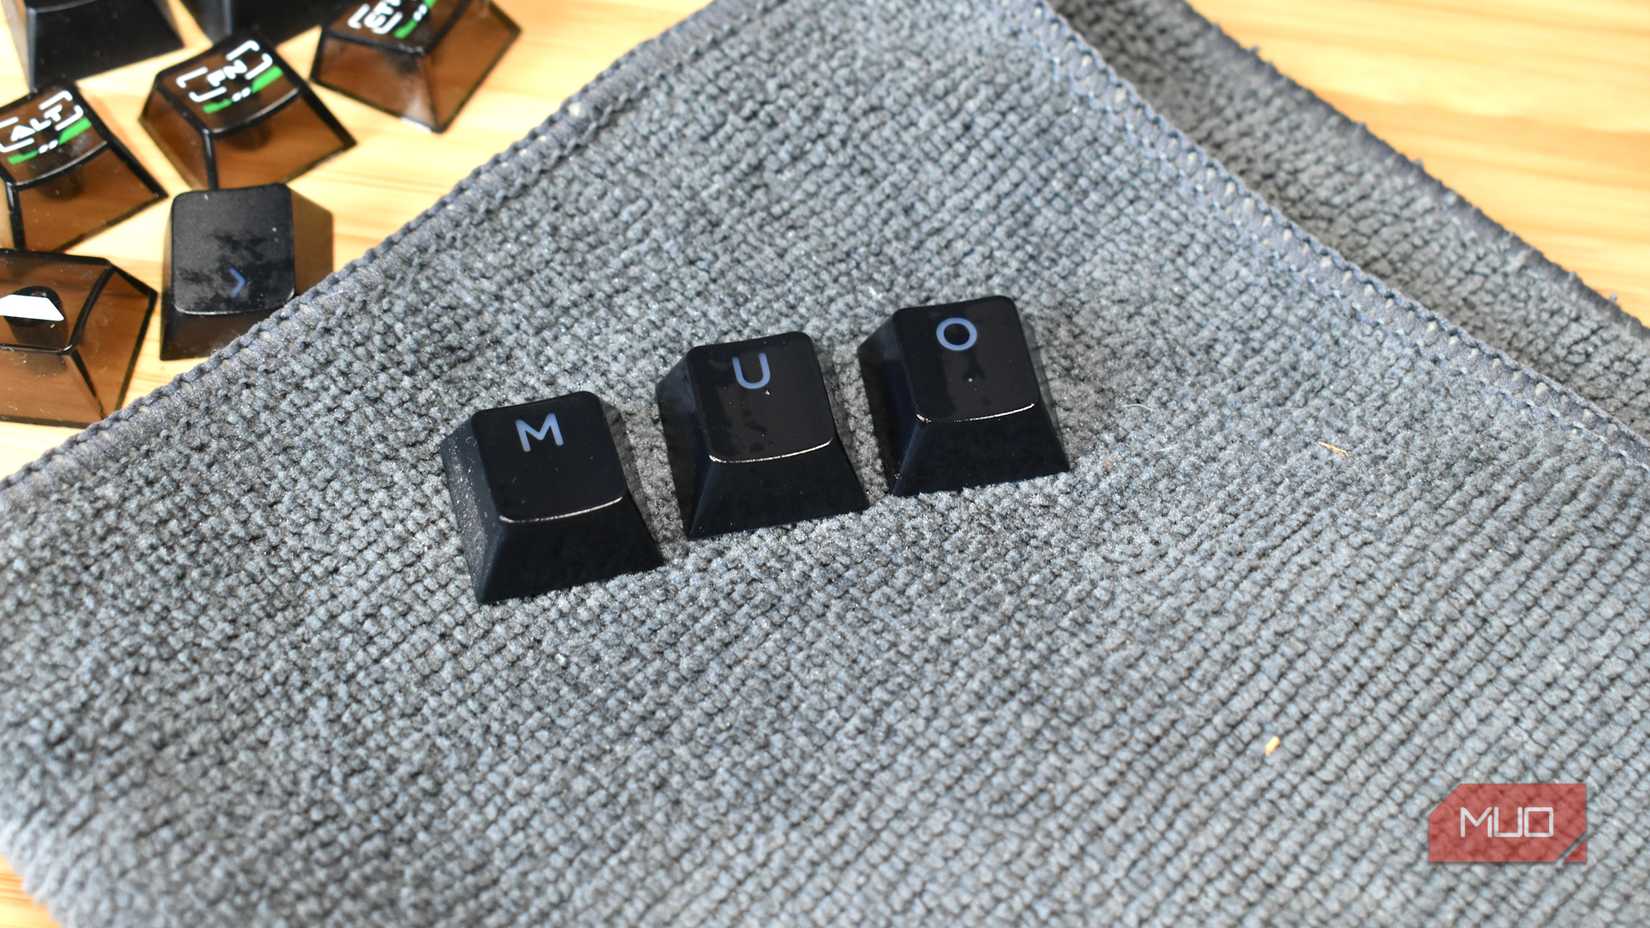
Now that the keyboard frame and switches are clean, move on to the keycaps. As this is the part of the keyboard your fingers come into most contact with, it's understandable that some grime will build up over time.
I prefer using isopropyl alcohol for this job, but you can also put your keycaps in some warm, soapy water and give them a gentle scrub. The isopropyl alcohol and microfiber cloth combination means I can do all the cleaning at my desk, which is handy.
I generally spray all of the keys with the alcohol, plus a little on the microfiber cloth, then start cleaning each keycap individually. I wipe around the sides to remove any dirt, then clean the top before replacing it on the keyboard itself.
This is the most time-consuming part of the process, and it will vary depending on your keyboard size. The Lemokey L5 HE keyboard I'm using has 82 keys, and the total time cleaning the keycaps was around 15-20 minutes.
Put it all back together, and you're good to go
It feels as good as new
The difference I feel after cleaning my keyboard is always surprising. Is it just that it feels different? Have I tricked my brain into thinking the key switches and general feeling are now smoother than before?
It's hard to know. But either way, cleaning your keyboard is a useful thing to do and will help keep it running smoothly for years to come.
Share
What's Your Reaction?
 Like
0
Like
0
 Dislike
0
Dislike
0
 Love
0
Love
0
 Funny
0
Funny
0
 Angry
0
Angry
0
 Sad
0
Sad
0
 Wow
0
Wow
0